Note: This is not recommended for anyone without proper experience. Perform at your own risk.
First we will start by opening the hood.

With the hood open, notice that we will need to swap several parts and pieces over to the new hood. (Hood Latch, Rubber Grommets, Rubber Oval Ring w/plugs, Washer sprayers and line, Retaining Clips)

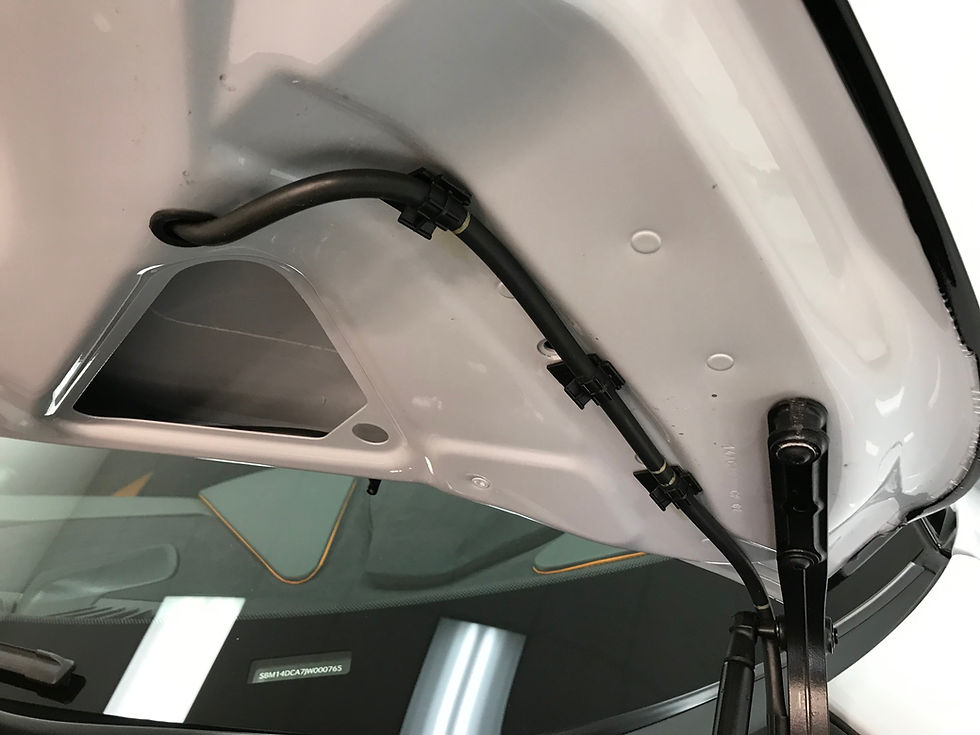
First start by disconnecting the windshield washer line, just inside the hood opening pictured below, as well as releasing the line from the retaining clips.

Looking inside the hood opening nearest the top edge, you can see the washer sprayer clips holding them in. using a panel pry tool, gently depress the "2" tabs per washer spraying so that the spraying can be removed from the outside of the hood.
Note: The sprayers are also help on with "2" small pieces of 3M tape.

Washer sprayer un-clipped and being peeled off the hood.

With the washed sprayers removed from the hood, disconnect them from the washer line by gently pulling them apart.

With all ends of the washer line free now, we can reach inside the hood and un-clip the rest of the line for complete removal.
Note: Notice the clips inside the hood, as they will need to be removed and reused on the new hood. They are 3M taped on.

Pictured below is the washer sprayer line and the sprayer tips.

Next, with a partner, remove the "4"T25 Torx screws, "2" per hinge holding the in place.

Once the "4" screws are removed the hood can be removed completely.

Next, you can either Install the new hood, by bolting it on the same as the factory and then transfer the parts over or do so before mounting the new hood.


Next, remove the 3M taped on washer sprayer clips, if you haven't already, and transfer them to the new hood, using new 3M tape.

Transfer the hose grommet to the new hood.

Run the washer line into the new hood, connecting the sprayer tips back onto the new hood and clipping the line in through the hood.

Swap over the hood latch.

Swap over the rubber hood stops.

Fit the rubber stops by test opening and closing the hood.
Note: Alignment of hood should be checked and adjusted to ensure full clearance around edges before fully closing.

With hood fully aligned and adjusted, you are now able to enjoy the new look and a safe drive.


Hope this was able to help someone!
Tony Kiger
Comentarios